O-ring Inspection machine
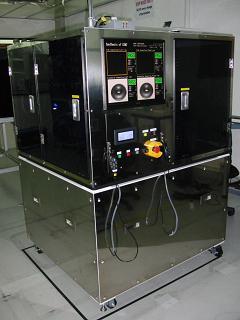
(O-ring Inspection machine)
| Objects products: | 3mm~7mm |
|---|---|
| Processing speed: | 100pcs/m ±10% |
| Jam rate: | 0/3000 pcs |
| Inspection surface: | Whole surface |
| Inspection content: | Dirty, measure thickness, measure diameter |
| Capacity inspection: | 100μm×100μm |
| Capacity measurement: | 10μm3Σ |
Operation route:
O-rings are poured into BOX (loader).
They will be taken separation unit following 8 drains by operating part feeder.
At here, 8 O-rings are separated for Robot1 come to absorb them to inspection stage1.
Camera captures image 18 times of one by one for inspecting whole bottom surface of ring.
Robot1 takes them and exchange to Robot2. Robot2 absorb them to inspection stage2.
Camera captures image 18 times of one by one for inspecting whole above surface of ring.
If inspection result is OK, Robot2 sorts this ring into OK BOX.
If inspection result is NG, Robot2 sorts this ring into NG BOX.
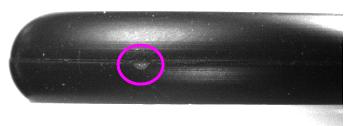
Some image of NG samples which machine detected.
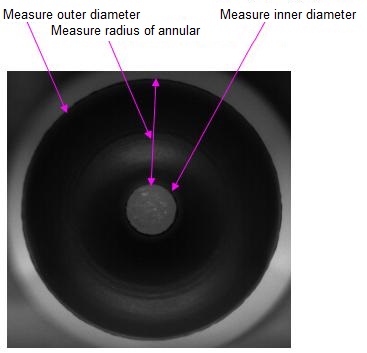
Measure distance
 >
>
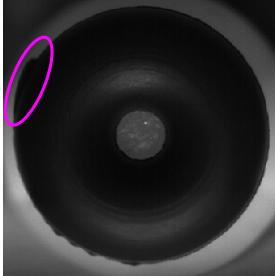
Inspect execessive flash
Inspect surface
Dirty
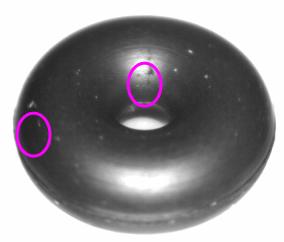
Molding void
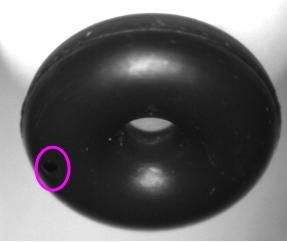
Execessive flash
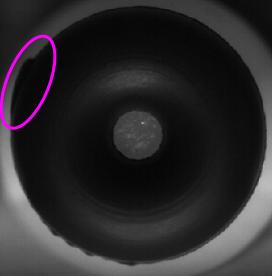
Scratched
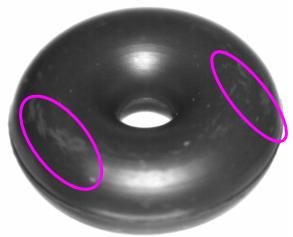
Chipped

