 |
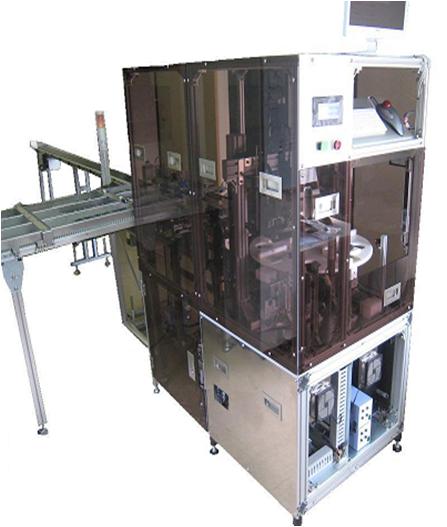
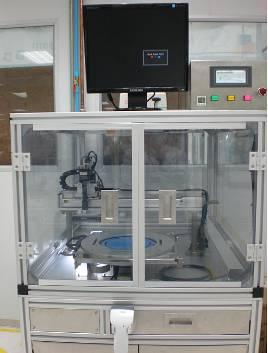
Camera captures image of product into computer systems.
Image processing software analyzes images then judges inspection results and transmits this results to control unit.
Control unit sorts the inspected product according to inspection result, while shown this result on the screen. For detail |
|---|
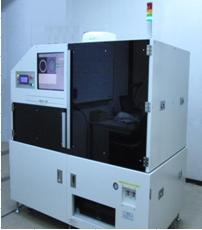
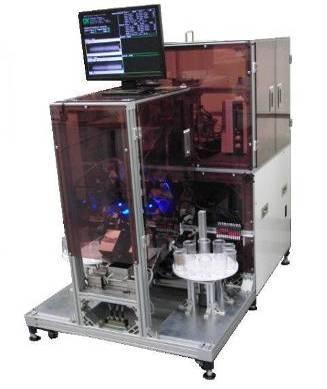
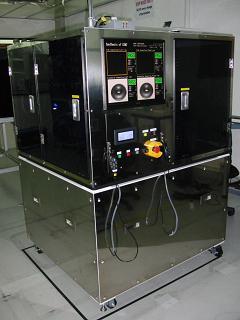
Overview the vision system
Some typical projects which we participated to manufactured and Transferred
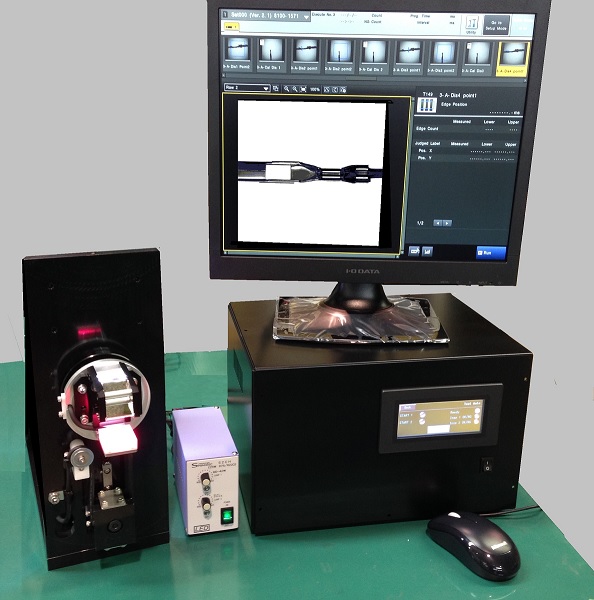
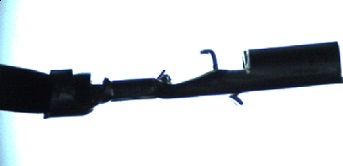
Harness Inspection Unit
| Objects products: | 0.5mm~3mm |
|---|---|
| Processing speed: | 120pcs/m ±10% |
| Jam rate: | 0/3000 pcs |
| Inspection surface: | Whole surface 360° |
| Inspection content: | Stand out, Conductor Cut, No Bell Mouth, Deep Crimp, ... |
| Capacity inspection: | 100μm×100μm |
| Capacity measurement: | 100μm3Σ |
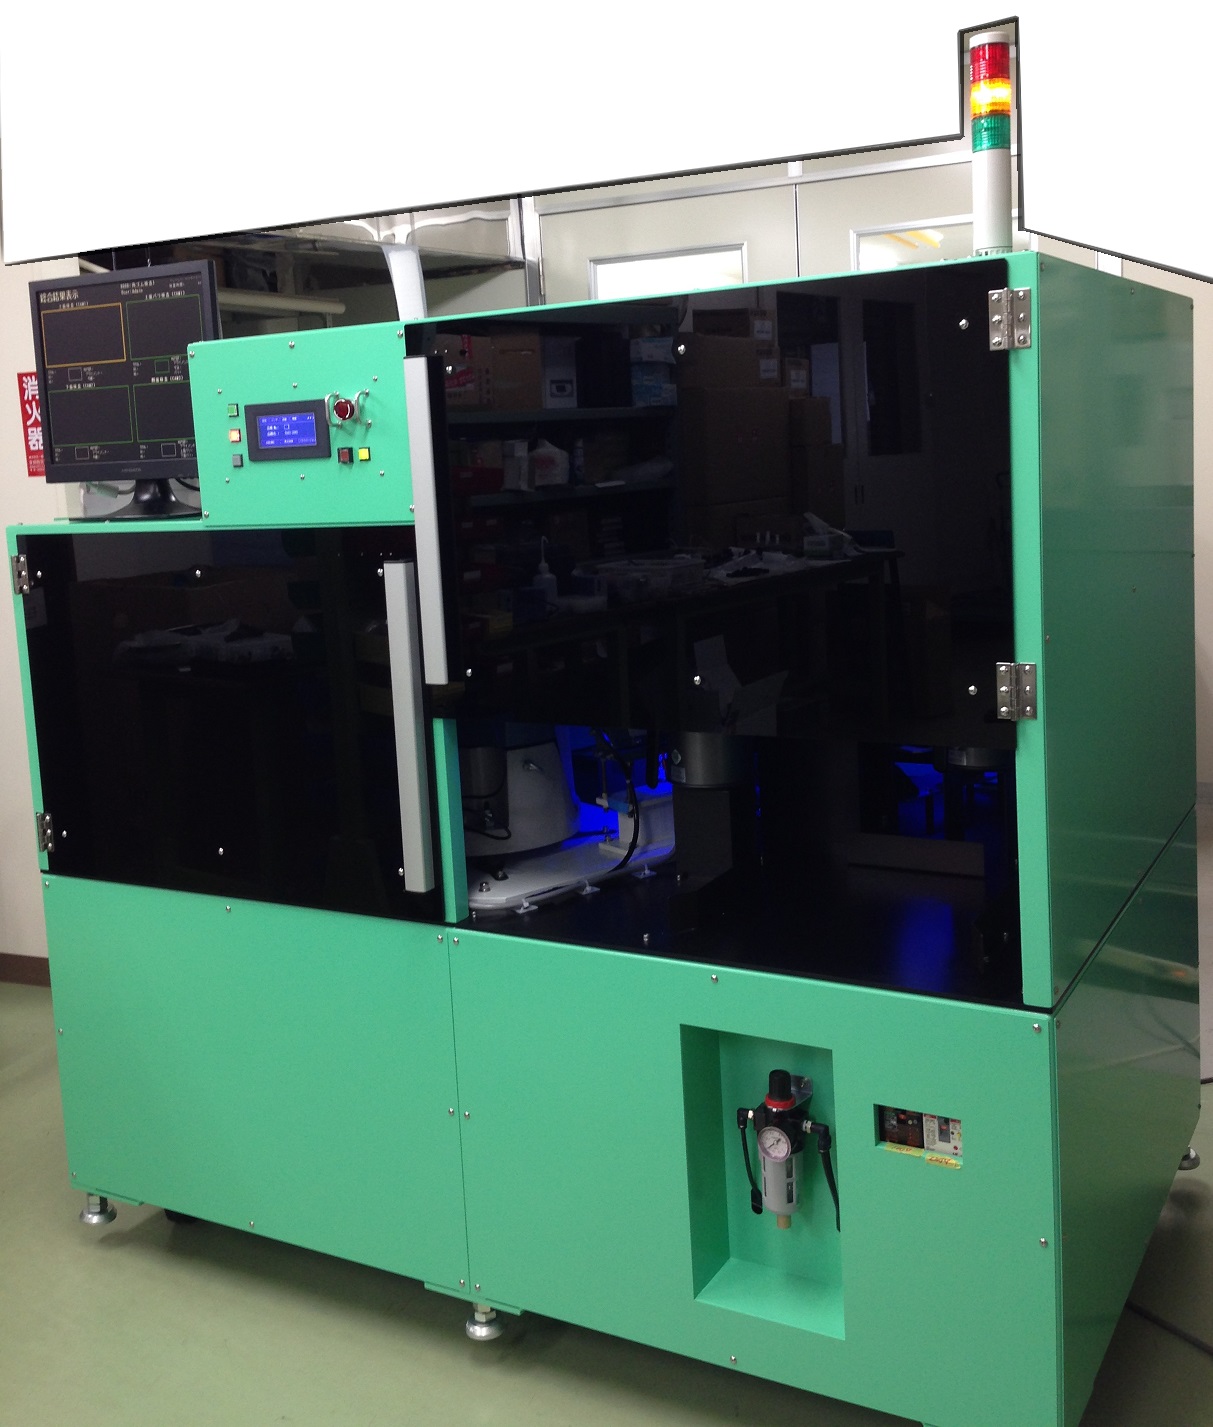
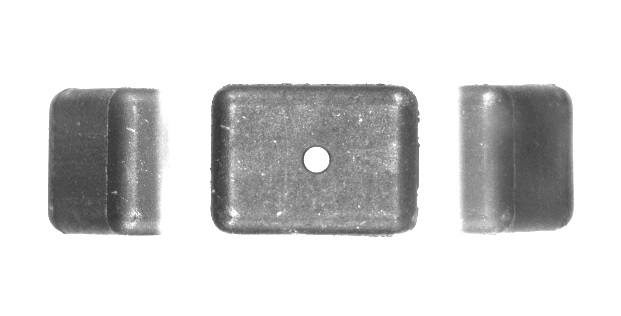
Angle rubber Inspection machine
| Objects products: | 10*10*20 mm |
|---|---|
| Processing speed: | 70pcs/m ±10% |
| Jam rate: | 0/3000 pcs |
| Inspection surface: | Whole surface (6 side) |
| Inspection content: | Foreign substance, Scratch, Excessive Flash, measure distance, ... |
| Capacity inspection: | 800μm×800μm |
| Capacity measurement: | 100μm3Σ |
Disc holder inspection Machine
| Objects products: | 7mm~10mm |
|---|---|
| Processing speed: | 0.35 s/pc ±10% |
| Jam rate: | 0/3000 pcs |
| Inspection surface: | Face |
| Inspection content: | Crack, Patch, dirty, deformation |
| Capacity inspection: | 30μm×30μm |
Resin Pilot inspection machine
| Objects products: | 3mm ×Φ1mm |
|---|---|
| Processing speed: | 480 pcs/phút ±10% |
| Jam rate: | 0/3000 pcs |
| Inspection surface: | Whole surface |
| Inspection content: | Crack, Patch, dirty, deformation |
| Capacity inspection: | 10μm×10μm |
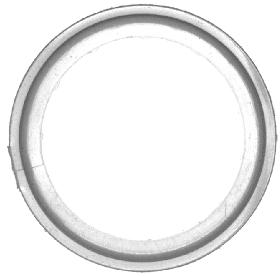
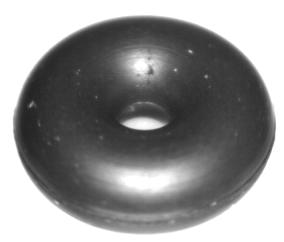
O-ring Inspection machine
| Objects products: | 3mm~7mm |
|---|---|
| Processing speed: | 100pcs/phút ±10% |
| Jam rate: | 0/3000 pcs |
| Inspection surface: | Whole surface |
| Inspection content: | Dirty, measure thickness, measure diameter |
| Capacity inspection: | 100μm×100μm |
| Capacity measurement: | 10μm3Σ |
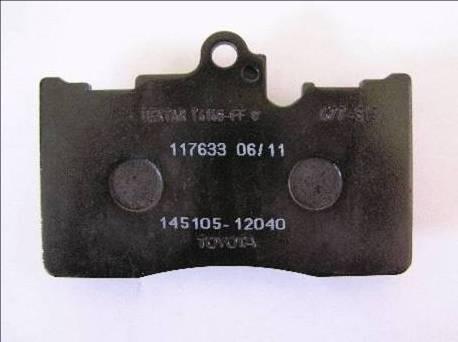
Automobile braker Inspection machine
| Objects products: | 15mm~26mm |
|---|---|
| Processing speed: | 4s/pc ±10% |
| Jam rate: | 0/3000 pcs |
| Inspection surface: | Whole surface |
| Inspection content: | Dirty, Scratch, measure distance, thickness |
| Capacity inspection: | 100μm×100μm |
| Capacity measurement: | 5μm3Σ |
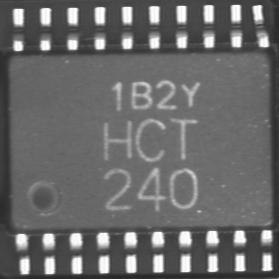
IC(TSSOP) Inspection Machine
| Objects products: | 4mm~15mm |
|---|---|
| Processing speed: | 0.64 s/pc ±10% |
| Jam rate: | 0/3000 pcs |
| Inspection surface: | Face or back |
| Inspection content: | Lead, Mark, PKG |
| Capacity inspection: | 100μm×100μm |
| Capacity measurement: | 10μm3Σ |
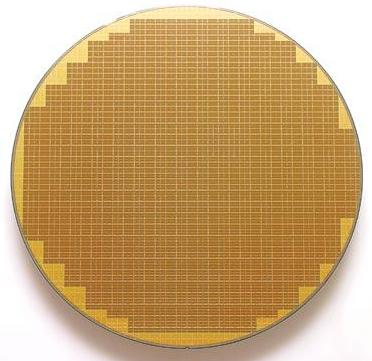
Chip Inspection Machine
| Objects products: | Wafer 5 Inch ~8 Inch |
|---|---|
| Chip size 0.4mm ~4mm | |
| Processing speed: | 45 minutes/Wafer 6 Inch ±10% |
| Jam rate: | 0/3000 pcs |
| Inspection surface: | Face of wafer |
| Inspection content: | Chip crack, miss dicing, dirty |
| Capacity inspection: | 8μm×8μm |
The problem is often considered in visual inspection process
If you are considering the problems below in your visual inspection process:
We are very willing to research and make the solution with you.
- Your visual inspection vision system couldn't detect some mode of rejects
- Rejects flow out your customer while you have visual inspection department
- You want to apply a visual inspection system instead of human to increase productivity and quality
- You need to manufacture a visual inspection automation machine ...........
We are very willing to research and make the solution with you.
